Building and deploying an Angular app is super simple. These instructions will have you up and running in 5 minutes. You will learn how to:
- Install the Angular-CLI
- Create your first app
- Build your first app
- Deploy your first app to the internet
Short Version
Here are the commands you need to create a new Angular app and deploy it to Firebase. Click here to see the final result.
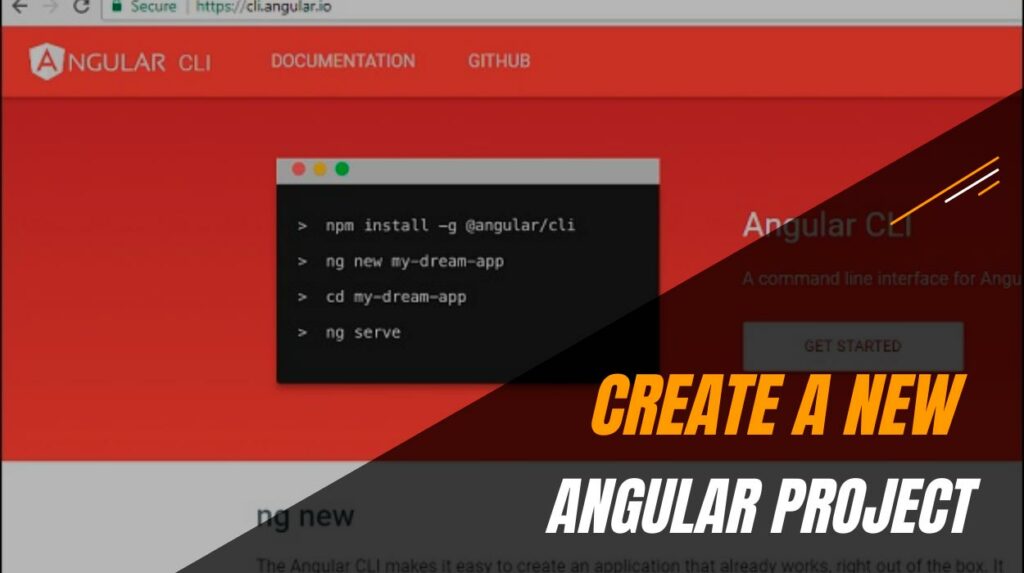
npm install @angular/cli -g

ng new getting-started

cd getting-started

ng build

npm install -g firebase-tools

firebase login

firebase init

firebase deploy
Long Version
Prerequisites
Install the LTS version of node.js: https://nodejs.org/en/
Install the Angular CLI
Open a command prompt and type: npm install @angular/cli -g
To check the Angular CLI installed properly type: ng –version
If you see an error there are a couple of things to try…
- Restart the command prompt
- Restart your machine
- Reinstall npm: npm install npm@latest -g
- Check npm is installed by typing: npm -v
- Check the path to npm by typing: npm
- Check your Environment Variables. Add npm to the path variable.
Create a new Angular Project

Create a new Angular project by typing: ng new getting-started
The CLI will ask you some questions and suggest some answers. The defaults are fine so just hit “return” after each question.
Installing will take a few moments. The CLI creates a new directory containing everything you need to get started and downloads the dependencies you need from npm.
Get your first app up and running
Change directory (cd getting-started) and run the test server by typing: ng serve.
After a few seconds, your app will be compiled and ready to view in a browser. The default URL is http://localhost:4200/.
Once you have finished, return to your console and kill the server (CTRL-C).
Build your first project
You can build your project with the command: ng build.
You can build an optimised version of your project with: ng build –prod
A production build takes longer but optimises your app and makes it ready to deploy to your production server. You should only deploy production builds to the internet. Keep the debug builds for testing on your laptop.
Create a Firebase account
We are going to use Firebase to host our app. Firebase is Google’s answer to AWS/Azure.
Head over to https://firebase.google.com/ and click Get Started. Create an account by following the instructions.
Next, go to the Firebase console https://console.firebase.google.com/ and click Add Project.
Enter a project name (e.g. getting-started), accept the T’s & C’s and click Create Project.
Install Firebase Tools
Open a command prompt (make sure you are in the getting-started folder) and type: npm install -g firebase-tools
Login to Firebase: firebase login. Your browser will pop up. Follow the instructions before returning to the command prompt.
Almost there… type firebase init to initialise Firebase. You will be asked a few questions. Answer them like this:
- Are you ready to proceed? Y
- Which Firebase CLI features do you want to set up for this folder? Press Space to select features, then Enter to confirm your choices. >(*) Hosting: Configure and deploy Firebase Hosting sites
- What do you want to use as your public directory? dist/getting-started
- Configure as a single-page app (rewrite all urls to /index.html)? Y
- File public/index.html already exists. Overwrite? Y
Upload your app to the internet
The final step is to upload your app to Firebase: firebase deploy
The URL of your website is displayed at the bottom of the console. Look for the “Hosting URL” (see above).
That’s it. Let me know how you get on.


